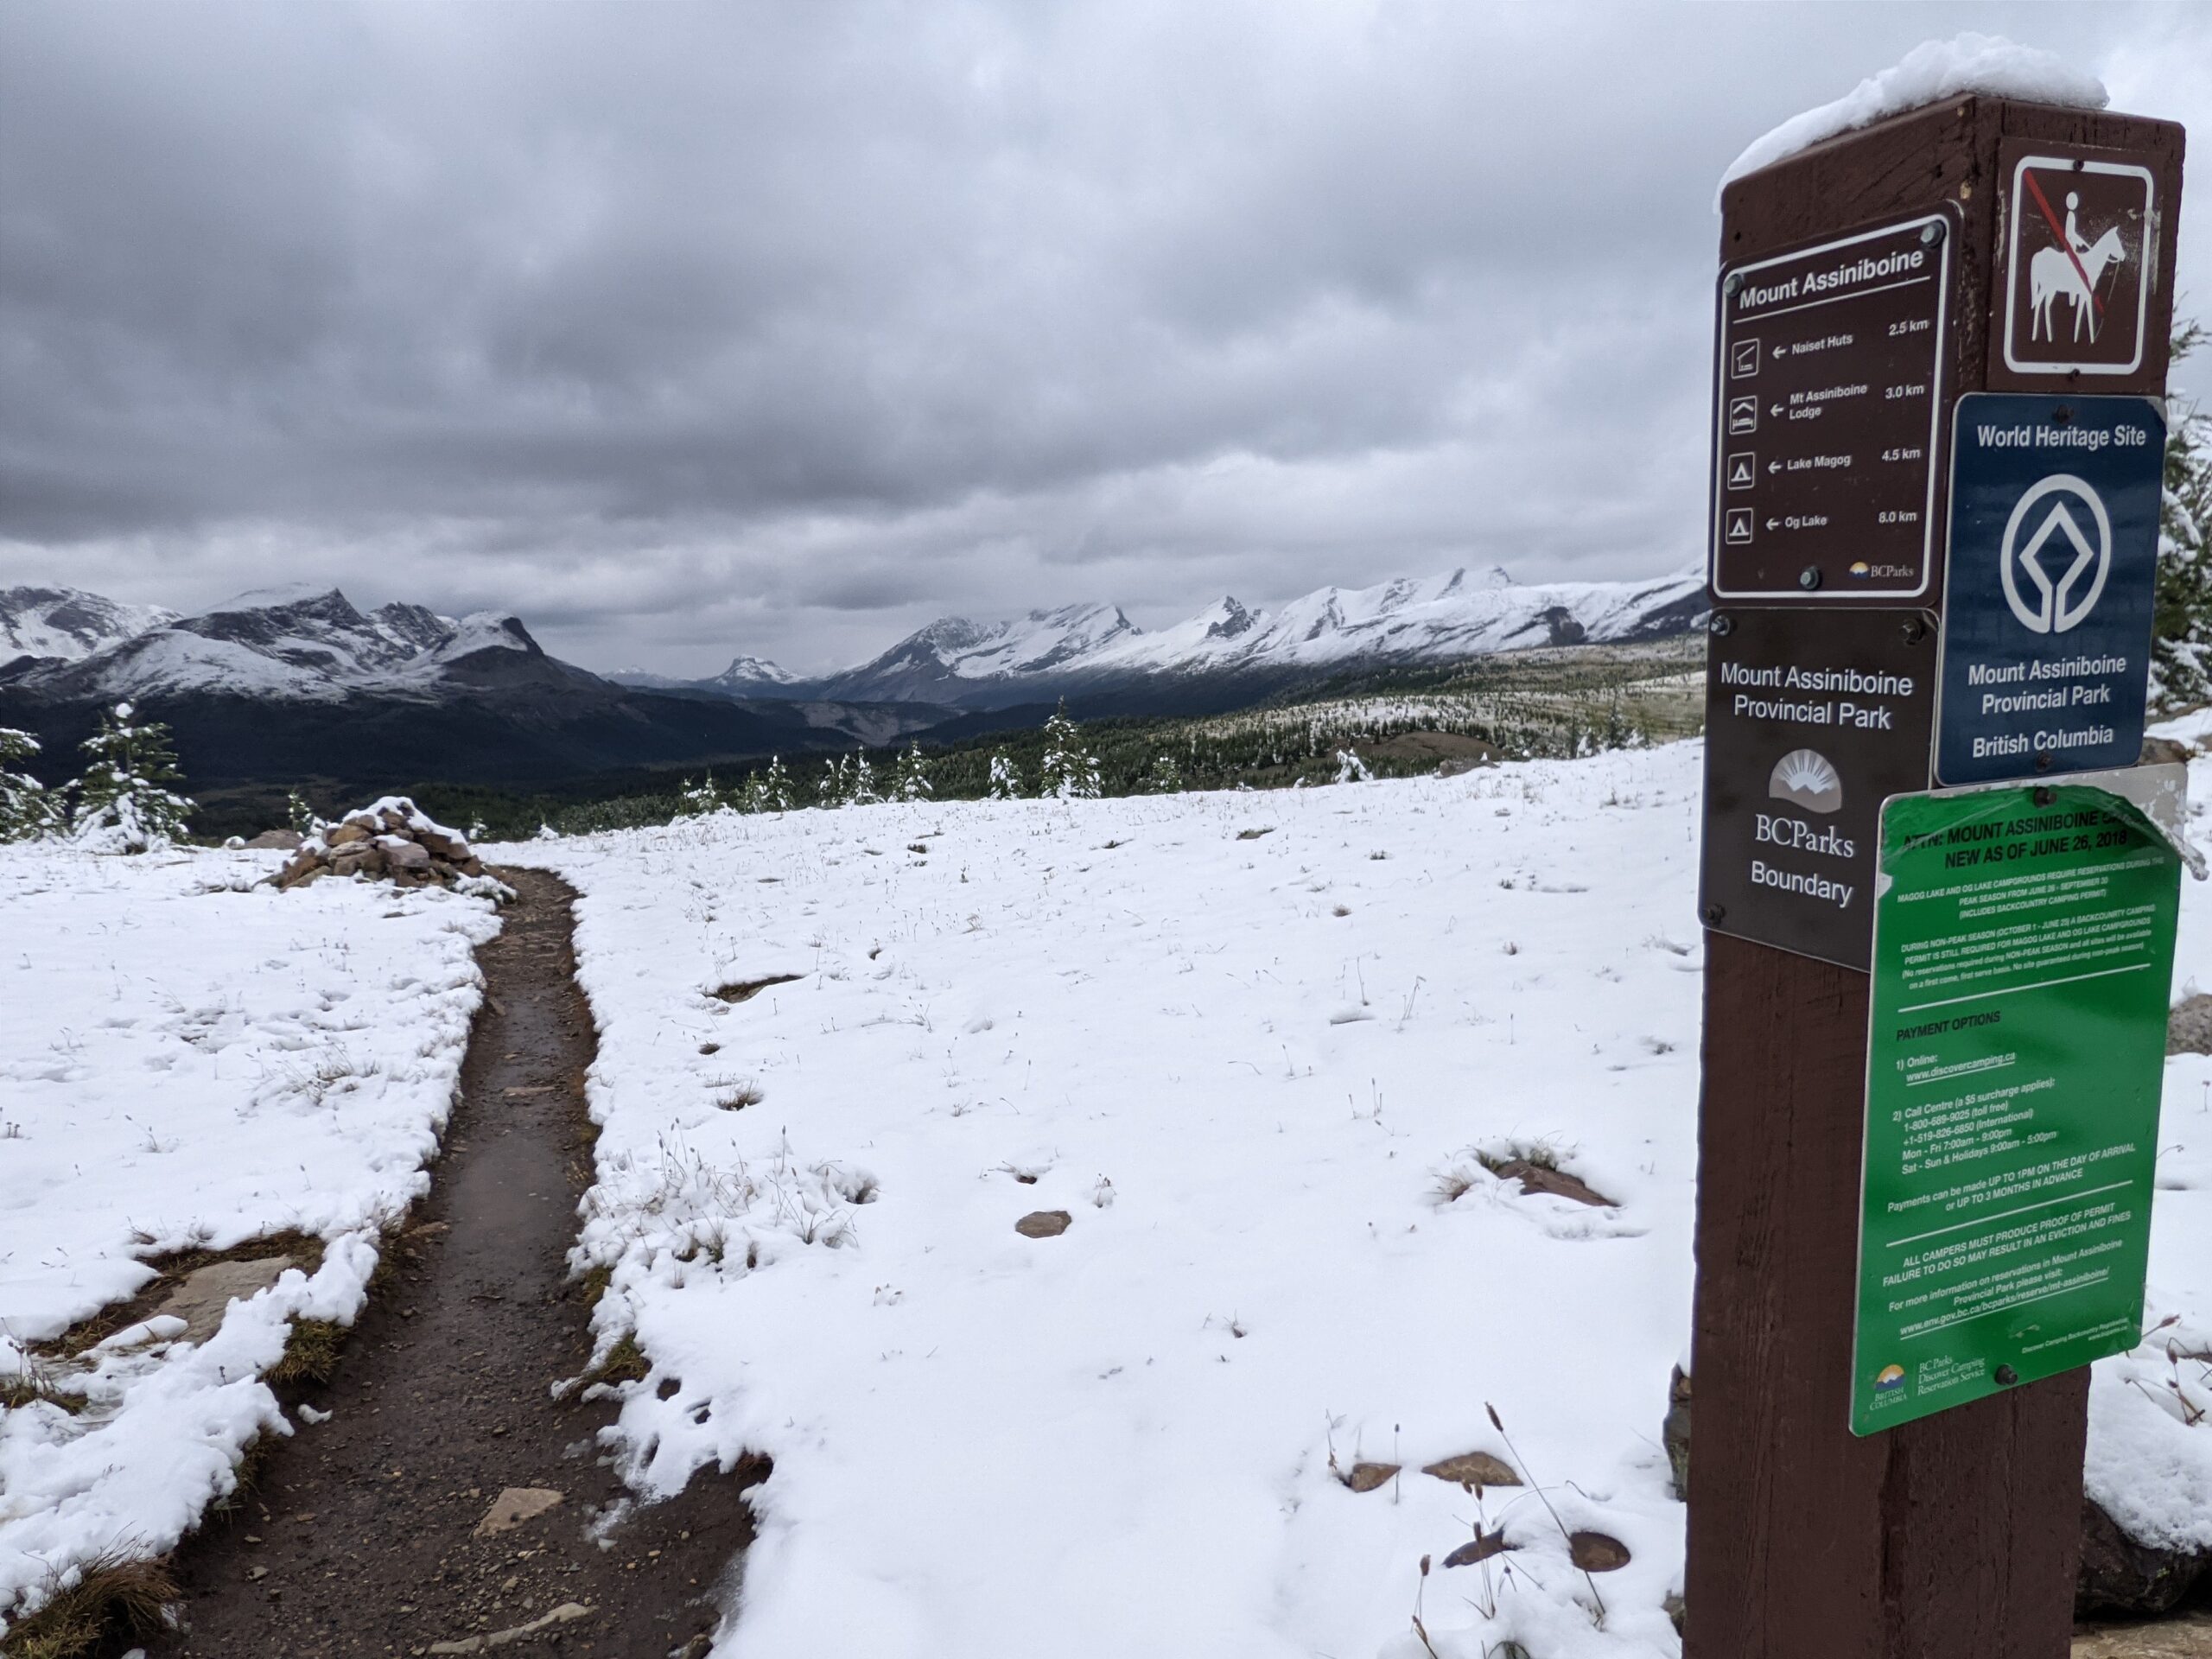
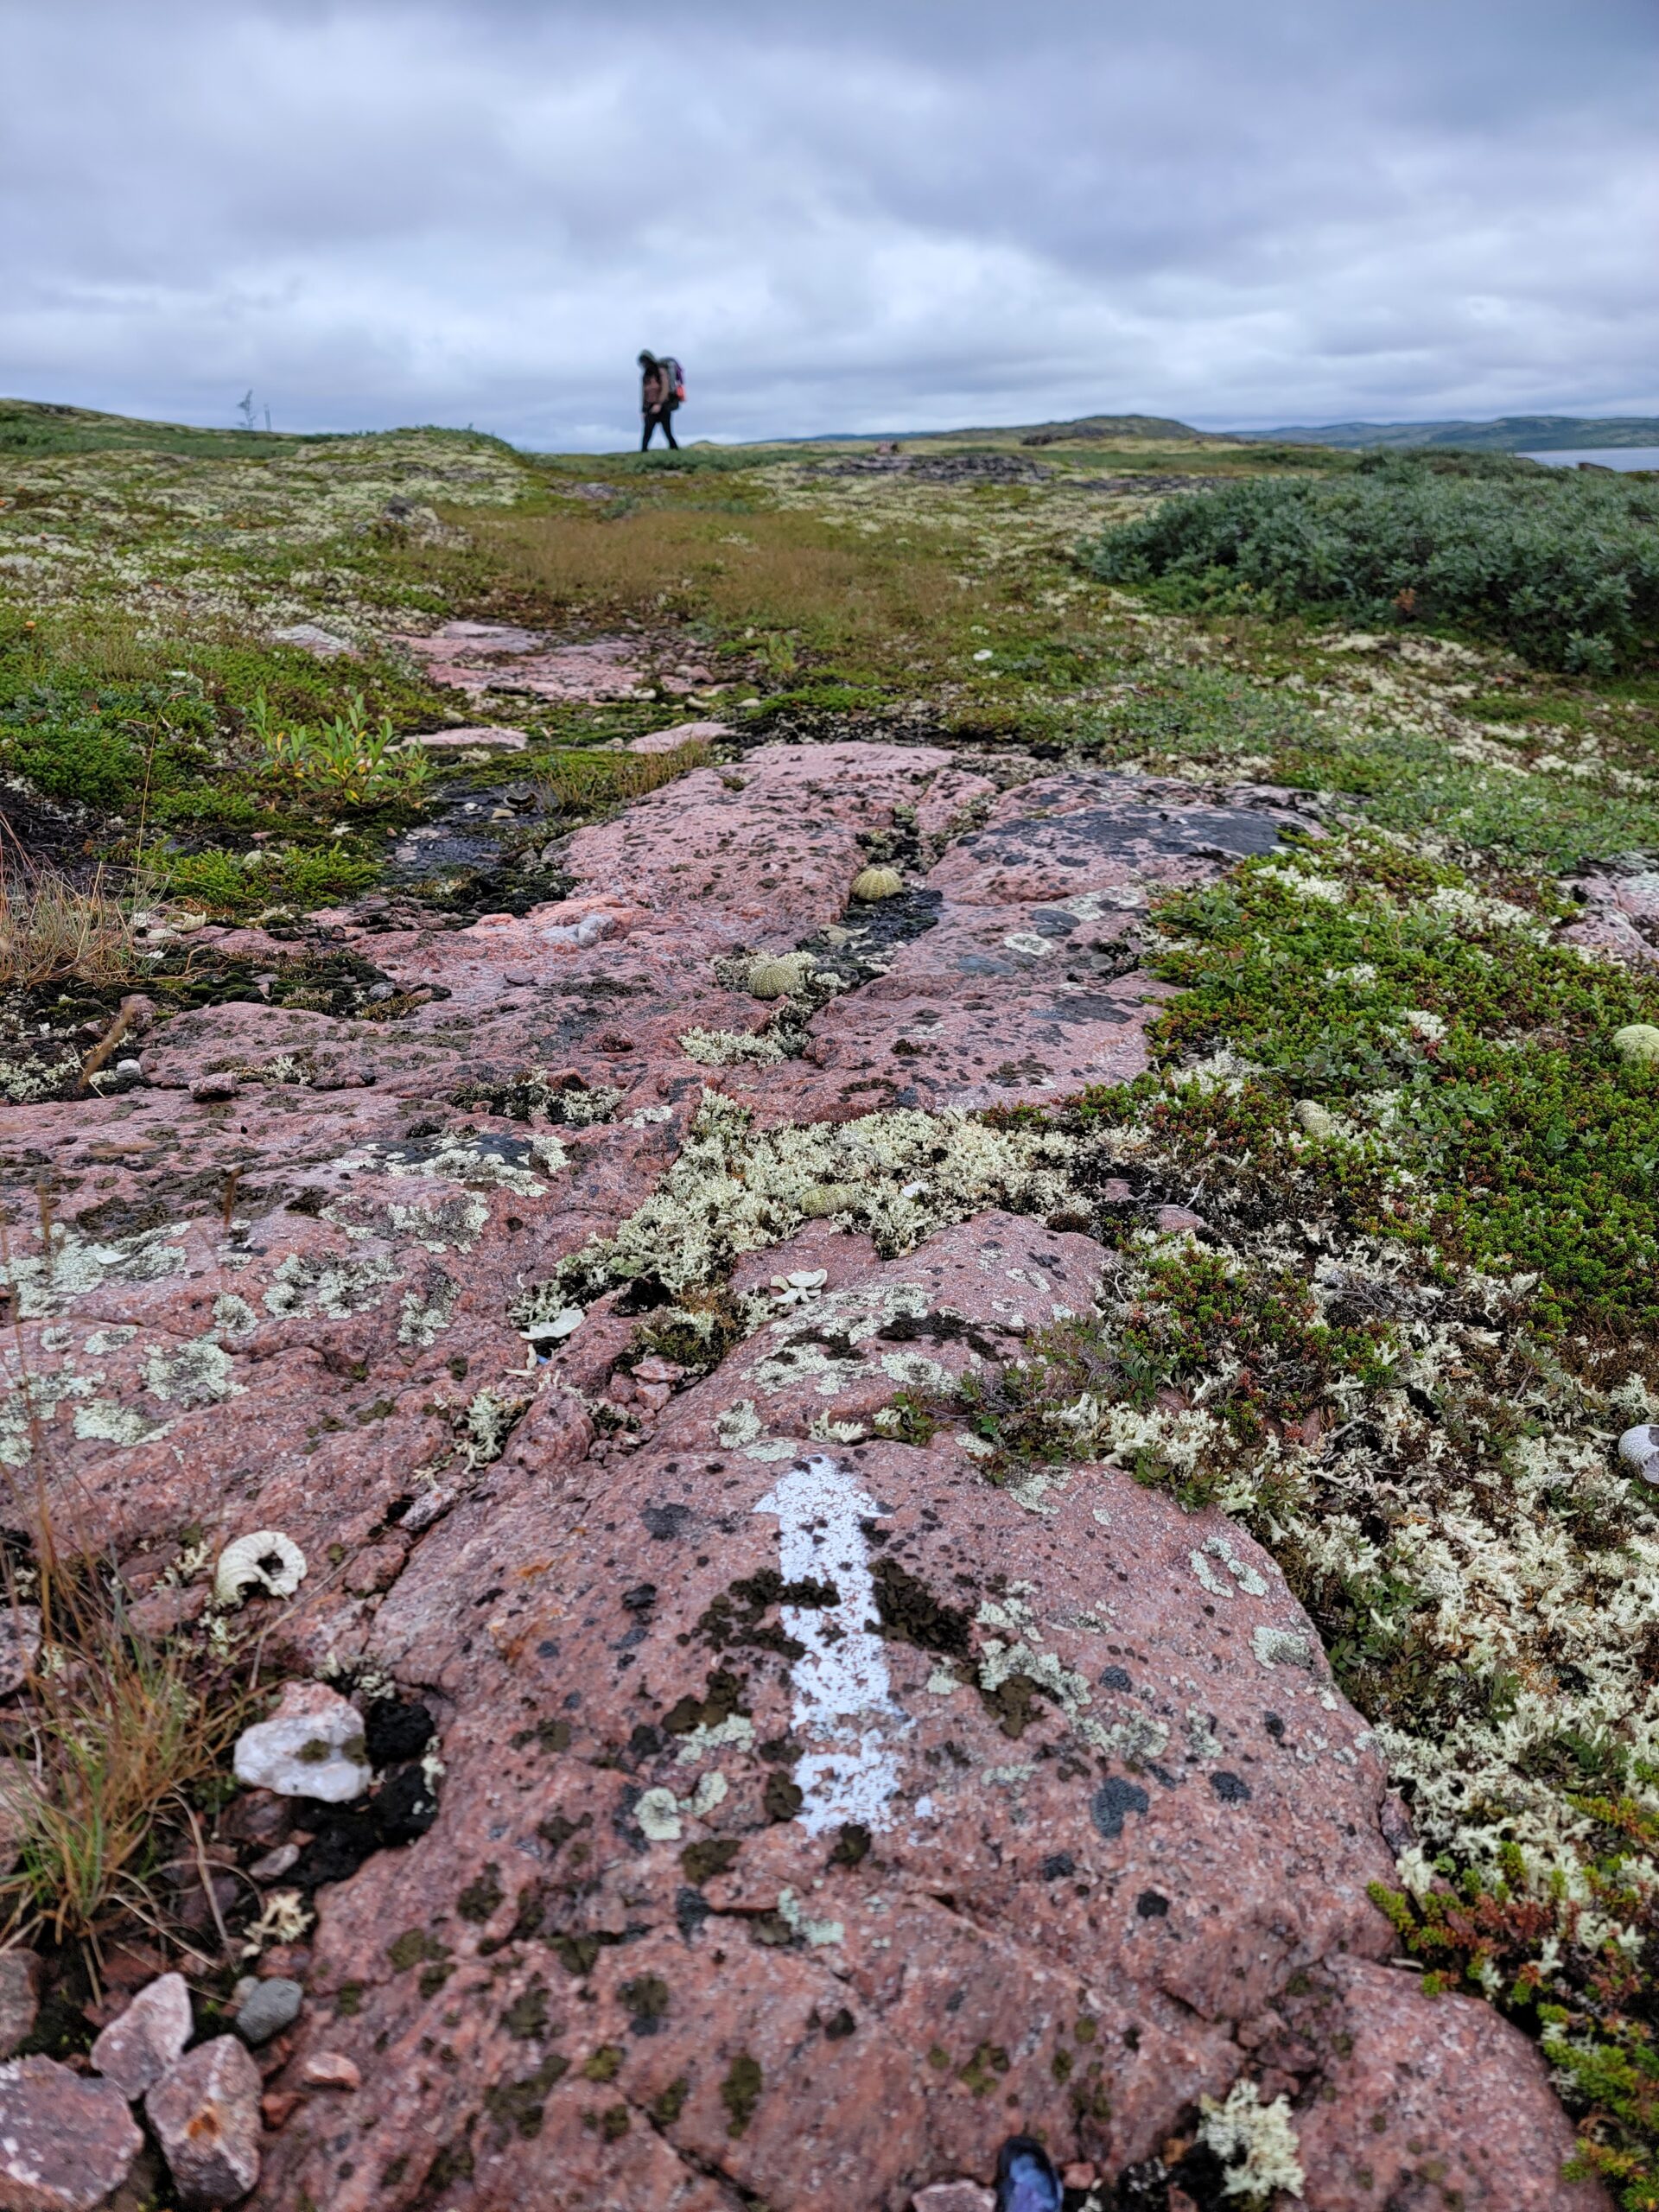
The gear is currently being sorted, the maps have been studied, and the countdown is officially on. This summer, Oliver and I are heading to the northern tip of Vancouver Island to tackle one of Canada’s most rugged coastal wilderness experiences: the North Coast Trail.
We have locked in our Cape Scott water taxi transport and purchased our BC Parks backcountry permits. Everything is official, and we are ready to head to the trail.
What Makes the North Coast Trail Unique?
For those unfamiliar with this stretch of British Columbia, the North Coast Trail (NCT) is often considered the wilder, more remote cousin of the West Coast Trail and can include an extension of Cape Scott Provincial Park, which we’re also doing.
Here is a quick look at what we are stepping into:
The Distance: The trail spans 43.1 kilometers (about 27 miles) from Shushartie Bay, reachable by water taxi, to Cape Scott junction, but that is just the NCT portion. On our way to the Cape Scott trailhead parking lot where a shuttle will pick us up, we will tack on the Cape Scott Trail, a day trip to the lighthouse, and a stay at San Josef Bay camp, bringing our total trek to around 80 kilometers.
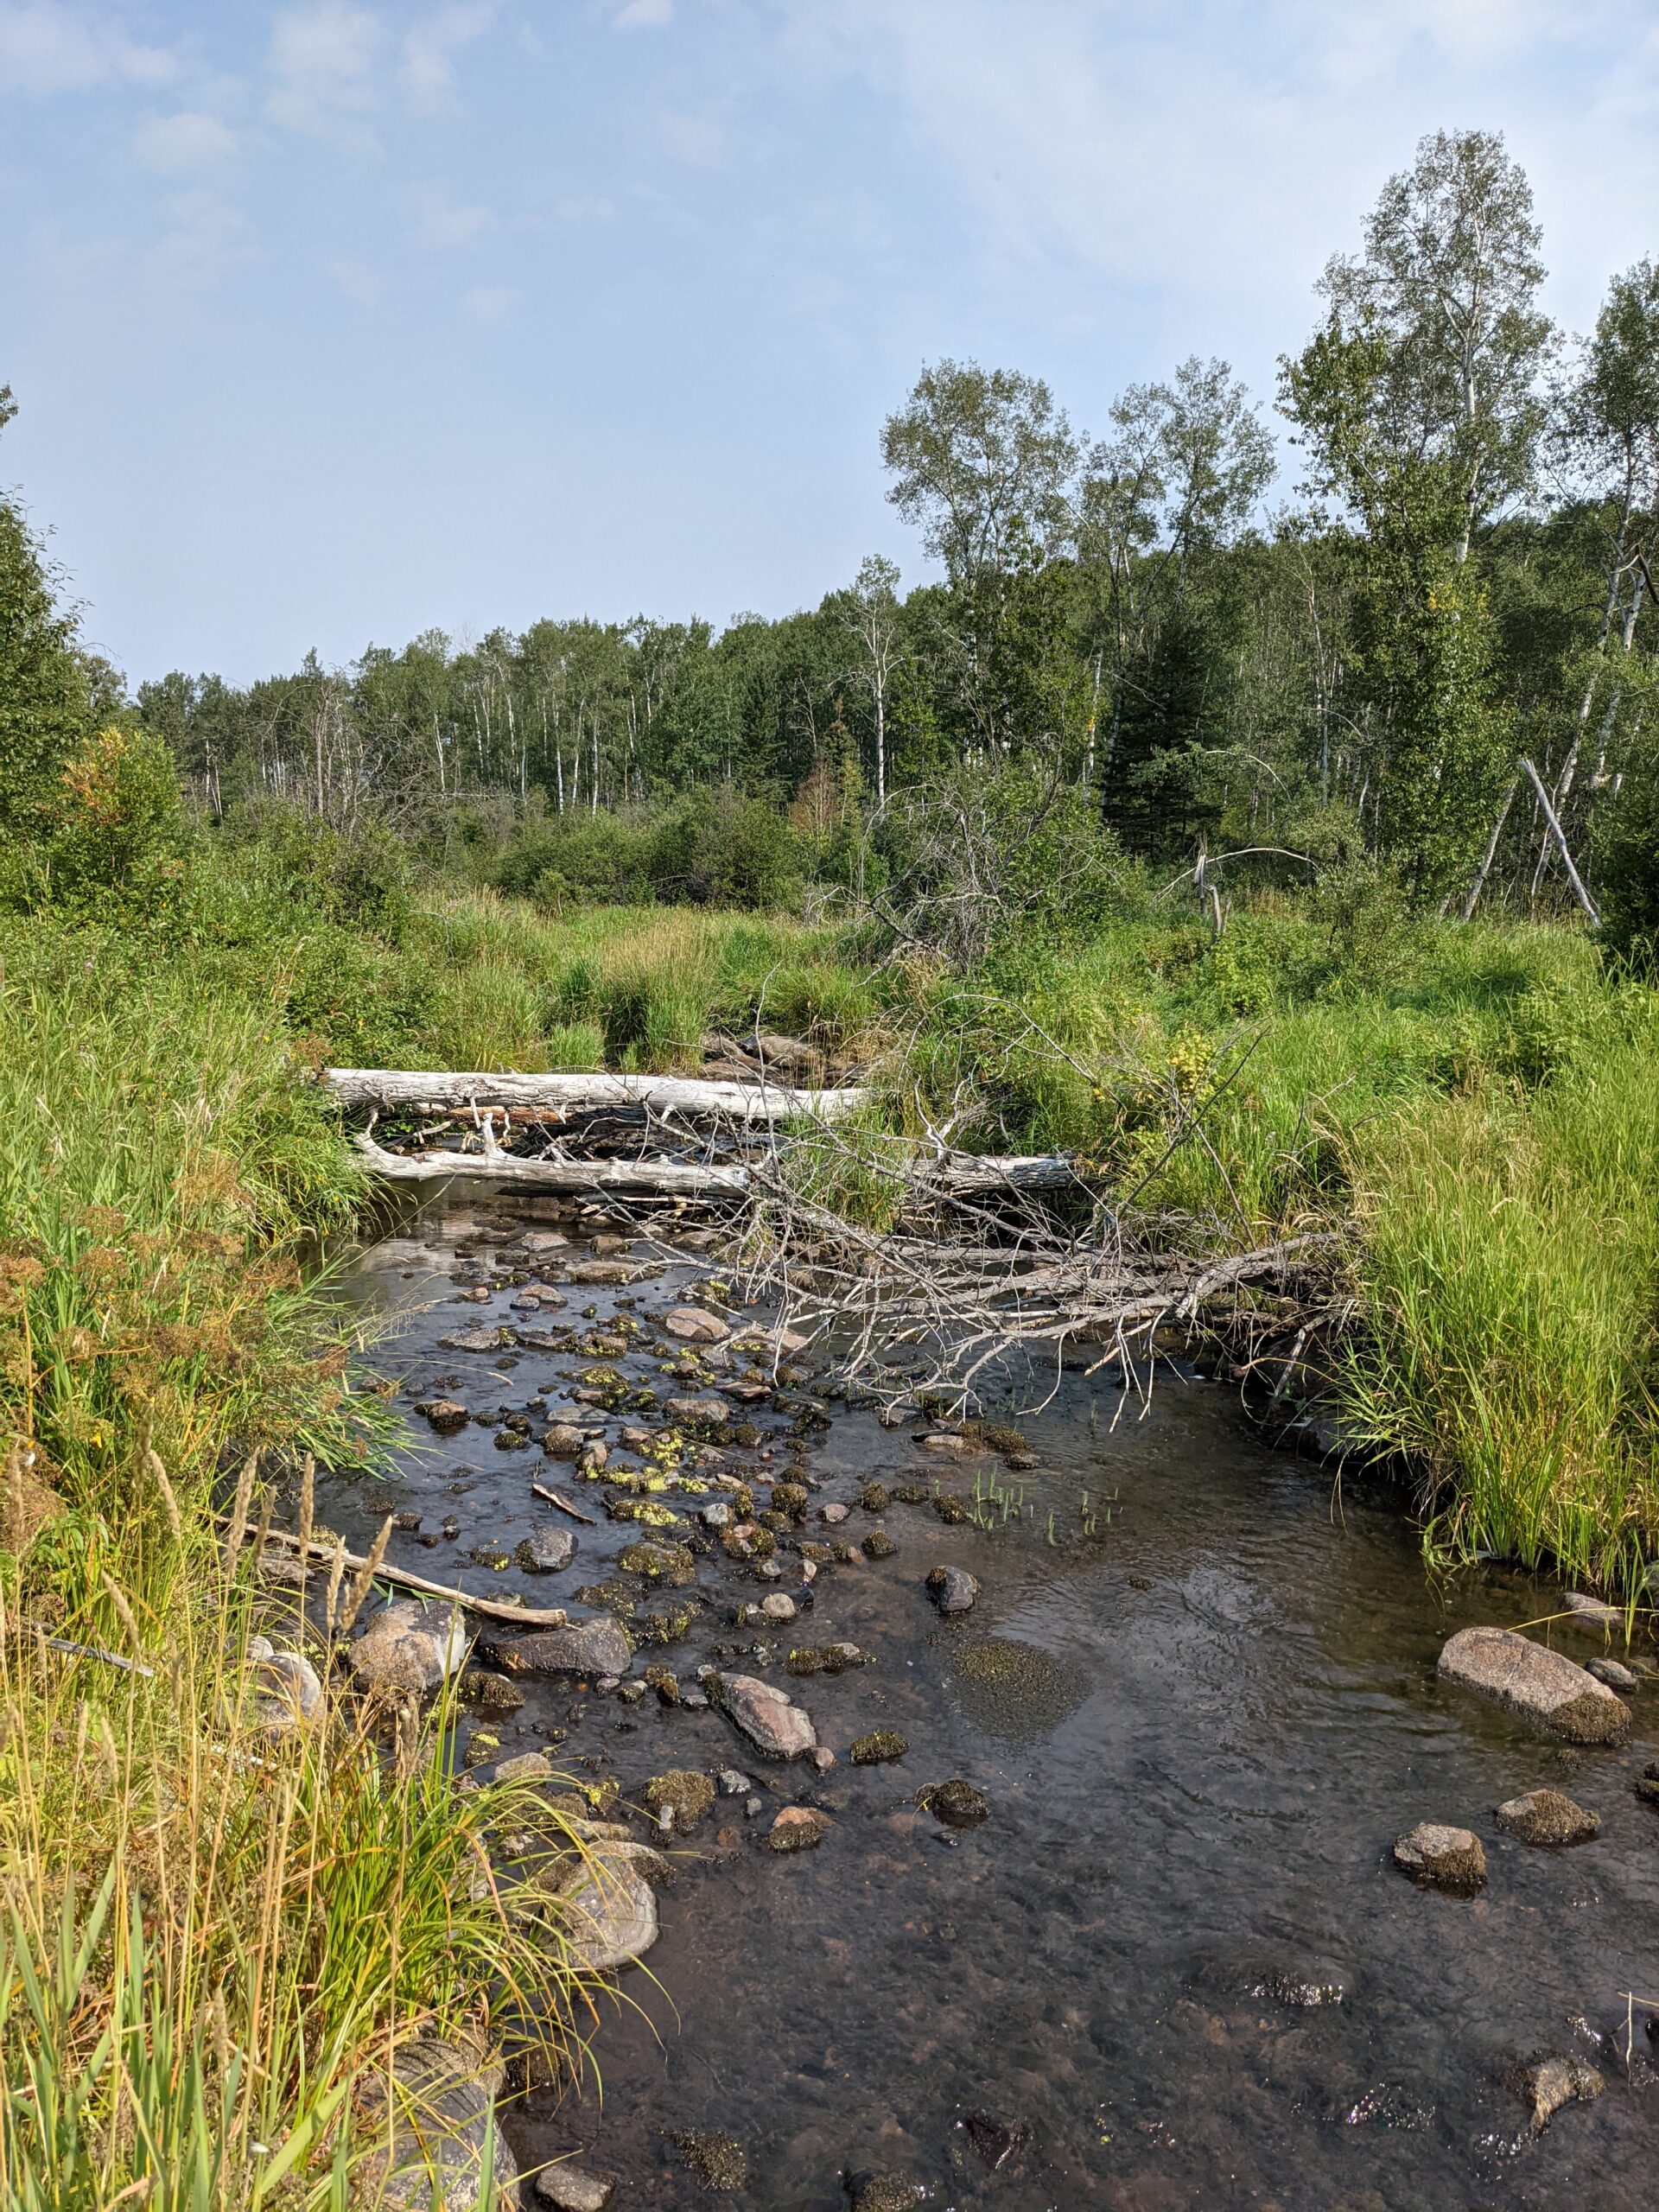
The Terrain: This isn’t a casual walk on the beach. The NCT is notorious for its challenging terrain. We will be navigating tidal crossings, climbing steep headlands, using cable cars, scrambling over slippery piles of driftwood, and wading through the island’s legendary deep mud.
True Wilderness: The area is incredibly remote. There are no towns and cell service is nonexistent. It is prime habitat for coastal wildlife, meaning we will be sharing the coastline with black bears and wolvess.
Follow the Journey
Because this trek promises incredible views and plenty of challenges, we are bringing you along for the ride. As always, we will be documenting the entire experience to share with you.
Once we emerge from the trees and get back to civilization, you can look forward to:
Detailed Trip Reports: Breakdowns of our daily mileage, campsite conditions, and trail notes.
Trail Videos: Video documentation of the trek, from the water taxi drop-off to the muddy realities of the inland sections.
We are incredibly excited to challenge ourselves on this stunning slice of Vancouver Island.
Stay tuned for updates, and we will see you on the trail!
If you’ve been following my journey as I plan to hike the Appalachian Trail in two years, you’ll know that saving for the trip is a big part of the process. My goal is to set aside $10,000 over 104 weeks.
Most $10,000 savings plans are designed to be completed in just one year, which can be a heavy hit to your finances. Stretching the goal over two years makes the weekly amounts more manageable and easier to stick with long-term.
To help others on a similar path, I’ve created two free resources you can download:
A PDF tracker for those who prefer paper
An Excel spreadsheet for those who like to track and customize digitally
Here’s how they work:
The PDF Print it out and follow the columns from top to bottom—or jump around and fill in a square each week. Once all 104 squares are complete, you’ll have $10,000 saved.
The Excel File My personal favorite. You can enter the exact amount you save each week, whether it’s a regular deposit or a little extra from unexpected income. The spreadsheet updates automatically, showing you how much you’ve saved and what’s still ahead.
When you are planning for a multi-day backcountry hiking trip, you need to make a few considerations before stepping onto the trail. You might want to jump straight to what gear you want to bring, but that there are other steps you should think through.
1. Choose Trails For Your Experience Level
Not everyone can make the PCT their first ever backcountry hike and successfully complete it. It takes time to find the right gear, get comfortable in the backcountry, know what you’re doing out there, and build your strength. Confidence is key in the backcountry. Get a few weekend hikes under your belt before you set out on a multi-day trip where you will have limited access to civilization. It is great to challenge yourself, but start slow and give yourself enough time to build up your “trail legs”. Pushing too hard, too fast can lead to injury. The goal is to have the best experience on trail and complete the distance you set for yourself.
2. Consider the Season and Elevation Where You’ll Be Hiking
In the winter months, you may find it hard to be stuck at home and not be hiking the trail. You might think about getting outdoors to get some camping days in. Be mindful of where the trail is and if it passes through mountainous areas. There are many trails, such as the PCT, that start out in the desert but increase in elevation as you go along. Because of the location and elevation of some long distance trails, you cannot start them in colder seasons. Do your trail research during your planning phase and choose trails that are safe for the time of year you are traveling.
3. Schedule Enough Time
Set realistic goals for yourself with the time you have available. When planning a multi-day backcountry trip, you need to not only factor in your days on trail, but any days you need to get to the trail and get home. Unless you have quit your job to hike or are retired, you have a finite number of vacation days to work around. Travel days can cut into your trail days. You may need to rethink which trail you choose, or how far you hike, based on your timeline. This may also impact how many zero or nero days you take on trail and how many miles you need to hike per day.
4. Set Your Budget
When planning for your hike, take a good look at your budget. A budget can be blown before you even set foot on the trail. Gear upgrades can be costly and when you’re dreaming of getting back on trail, you could be tempted to buy new gear. Calculate your meals and planned zero days. Factor in unexpected hotel stays due to weather or injury and other incidentals such as laundry. Don’t forget that there are still bills to pay when you’re away so the more you can save before your travel, the better. Backcountry camping doesn’t mean no costs. You still have shuttles and permits to consider and each expense adds up.
5. Review Your Equipment
Depending on where you choose to hike, you will want to check if you have the correct gear. If you are hiking where bear canisters are required for food storage, you will need to purchase a BearVault. If you are hiking in the winter, you will need to look at the rating of your sleep system and might need micro spikes or an ice axe. Since you are planning to hike over several days, weigh your pack and understand how much you are looking at carrying. A heavy pack might not be a big deal for a short hike. Carrying it for over a week, you may regret some decisions. If making new gear purchases, look for sales, find second hand gear, and confirm what you really need to bring with you. You don’t want to purchase something only to discover you are packing the extra weight for nothing.
6. Determine the Distance
By knowing where you are going, how fast you hike, the time you have on trail, and your budget, you can now understand how far you can go on trail. Now you need to take a good look at the map. Examine the elevation gains to estimate how difficult those miles will be. Note where campsites are located and if stealth camping is permitted. Also look for exit points in case you are falling behind or need to exit to get to a resupply.
A good look at the map also helps you to figure out where you might need to catch a ride either by hitchhiking or by getting a shuttle. Consult with online hiking groups for the trail such as on Facebook or through Apps. They will identify water sources and other trail information which will help you make additional estimates about where you might want to stop on the trail each night.
7. What Permits or Reservations are Required?
Some trails will require you to book permits to access the trail or make reservations for campsites. When planning for your hike, you need to factor in enough time to make the reservations you need for your hike. The Great Divide Trail requires reservations for backcountry sites in several sections. It is often challenging to get a couple of vital campsites which requires additional research for alternate routes and mile adjustment. Other trails require permits with specific start dates. This will change when you can get on the trail which could impact your vacation schedule with your employer.
8. Are You Hiking Solo or With Others?
While it is easier to only plan for yourself, sometimes it is more fun to hike with a friend. In this case, you need to bring your hiking partner into the planning process. Consider the experience of your hiking partner. Do they hike faster or slower than you? How much time do they have to hike? When looking at gear, will you share a tent or will you each bring your own? With two tents, you will need two reservations if they are required and you need to find a place to camp with enough space for both tents. Take into consideration what sights they want to see. You may end up taking a short side trip to a waterfall or a viewpoint to satisfy your partner’s curiosity.
9. Identify Your Logistical Requirements
While this was briefly mentioned before, you need to take a look at how you are getting on and off the trail. Many of the larger trail systems have Trail Angels. These are incredible volunteers who offer anything from shuttle services to accommodations and water stashes. You can find them on Trail Association websites or on Facebook. When you have your schedule figured out, you can begin to hunt around for Trail Angels to see if one is available. If not, you can use shuttles or taxis to get to the trail. Identify locations where you can either purchase a resupply of food or mail a box from home. Knowing the distance between resupply points will help you to determine how many days of food you will need to carry.
10. Prepare Physically and Mentally
During the months and weeks before your hike, get ready. Don’t wait until your feet hit the trail to get exercise. Being on trail for multiple days in a row is exhausting both physically and mentally. The wind battering your tent at night will leave you with little sleep. Tiredness can lead to injuries and poor decisions. There will be challenges on the trail, so give yourself a head start by going to the gym, walks… move. Do something to get your body ready for the stress you will be putting it under so it is one less thing for you to adjust to on the trail.
Final Thoughts
Planning for a backcountry trip should be a fun process. It is during this time that you can set goals, dream big, and get excited about the journey ahead. Yes, there are important considerations to make sure your trip goes smoothly, but ultimately, make sure you leave room for flexibility on trail. You never know what unexpected and exciting opportunities might arise.
When choosing a campsite in the backcountry, there are a few considerations to make. It isn’t always possible to set up camp wherever you feel like it. You also might make the mistake of setting up your tent in a spot that you will regret later. Below are some tips to help you make the best decisions when choosing a campsite.
Is Camping Permitted in the Area?
Sometimes you won’t find any campsites in the backcountry. This could simply be due to agencies deeming the area as sensitive or an animal corridor. When planning your hike, identify where camping is not permitted. This could add some complexity when you are determining the distance you must hike in a day. Do not set up a campsite in these areas unless it is an absolute emergency. Basically only set up your tent, if you are waiting to be rescued. Try your absolute best to exit these areas before you set up your campsite. Your feet and back might be tired from walking the extra miles to exit the restricted area, but respect the rules.
Do You Require a Permit or Reservation?
Depending on where you are hiking, you may need to pre-book your campsite. This can be challenging when you aren’t sure how far you will hike in a day and commits you to certain dates. If you are going faster or slower on your hike, you may find this frustrating.
Pay attention to when you you need to make reservations and note any alternates you may to take if the system says a campsite is full. Do your best to figure out your route, make the appropriate reservations, and carry your permits. You don’t want to be the reason that hikers get a bad reputation in the backcountry. Follow the rules.
Distance From Campsite to Campsite
Before your hike, review your map for pre-established sites. Also look at apps with hiker comments indicating spots not marked on an official map. With this information, you can consider your own hiking fitness to calculate how far you will be able to hike in a day. Look at your map and review the camping regulations for the area you are in to determine where you will stop for the night. You can either make a reservation if required, or you can find an unofficial campsite while on trail if permitted. The choice is up to you.
Choosing an Unofficial Backcountry Campsite
When you are in the backcountry and there are no marked campsites, you will need to use your judgment when selecting a site to pitch your tent. Below are some considerations to help you determine the best spot to rest for the night.
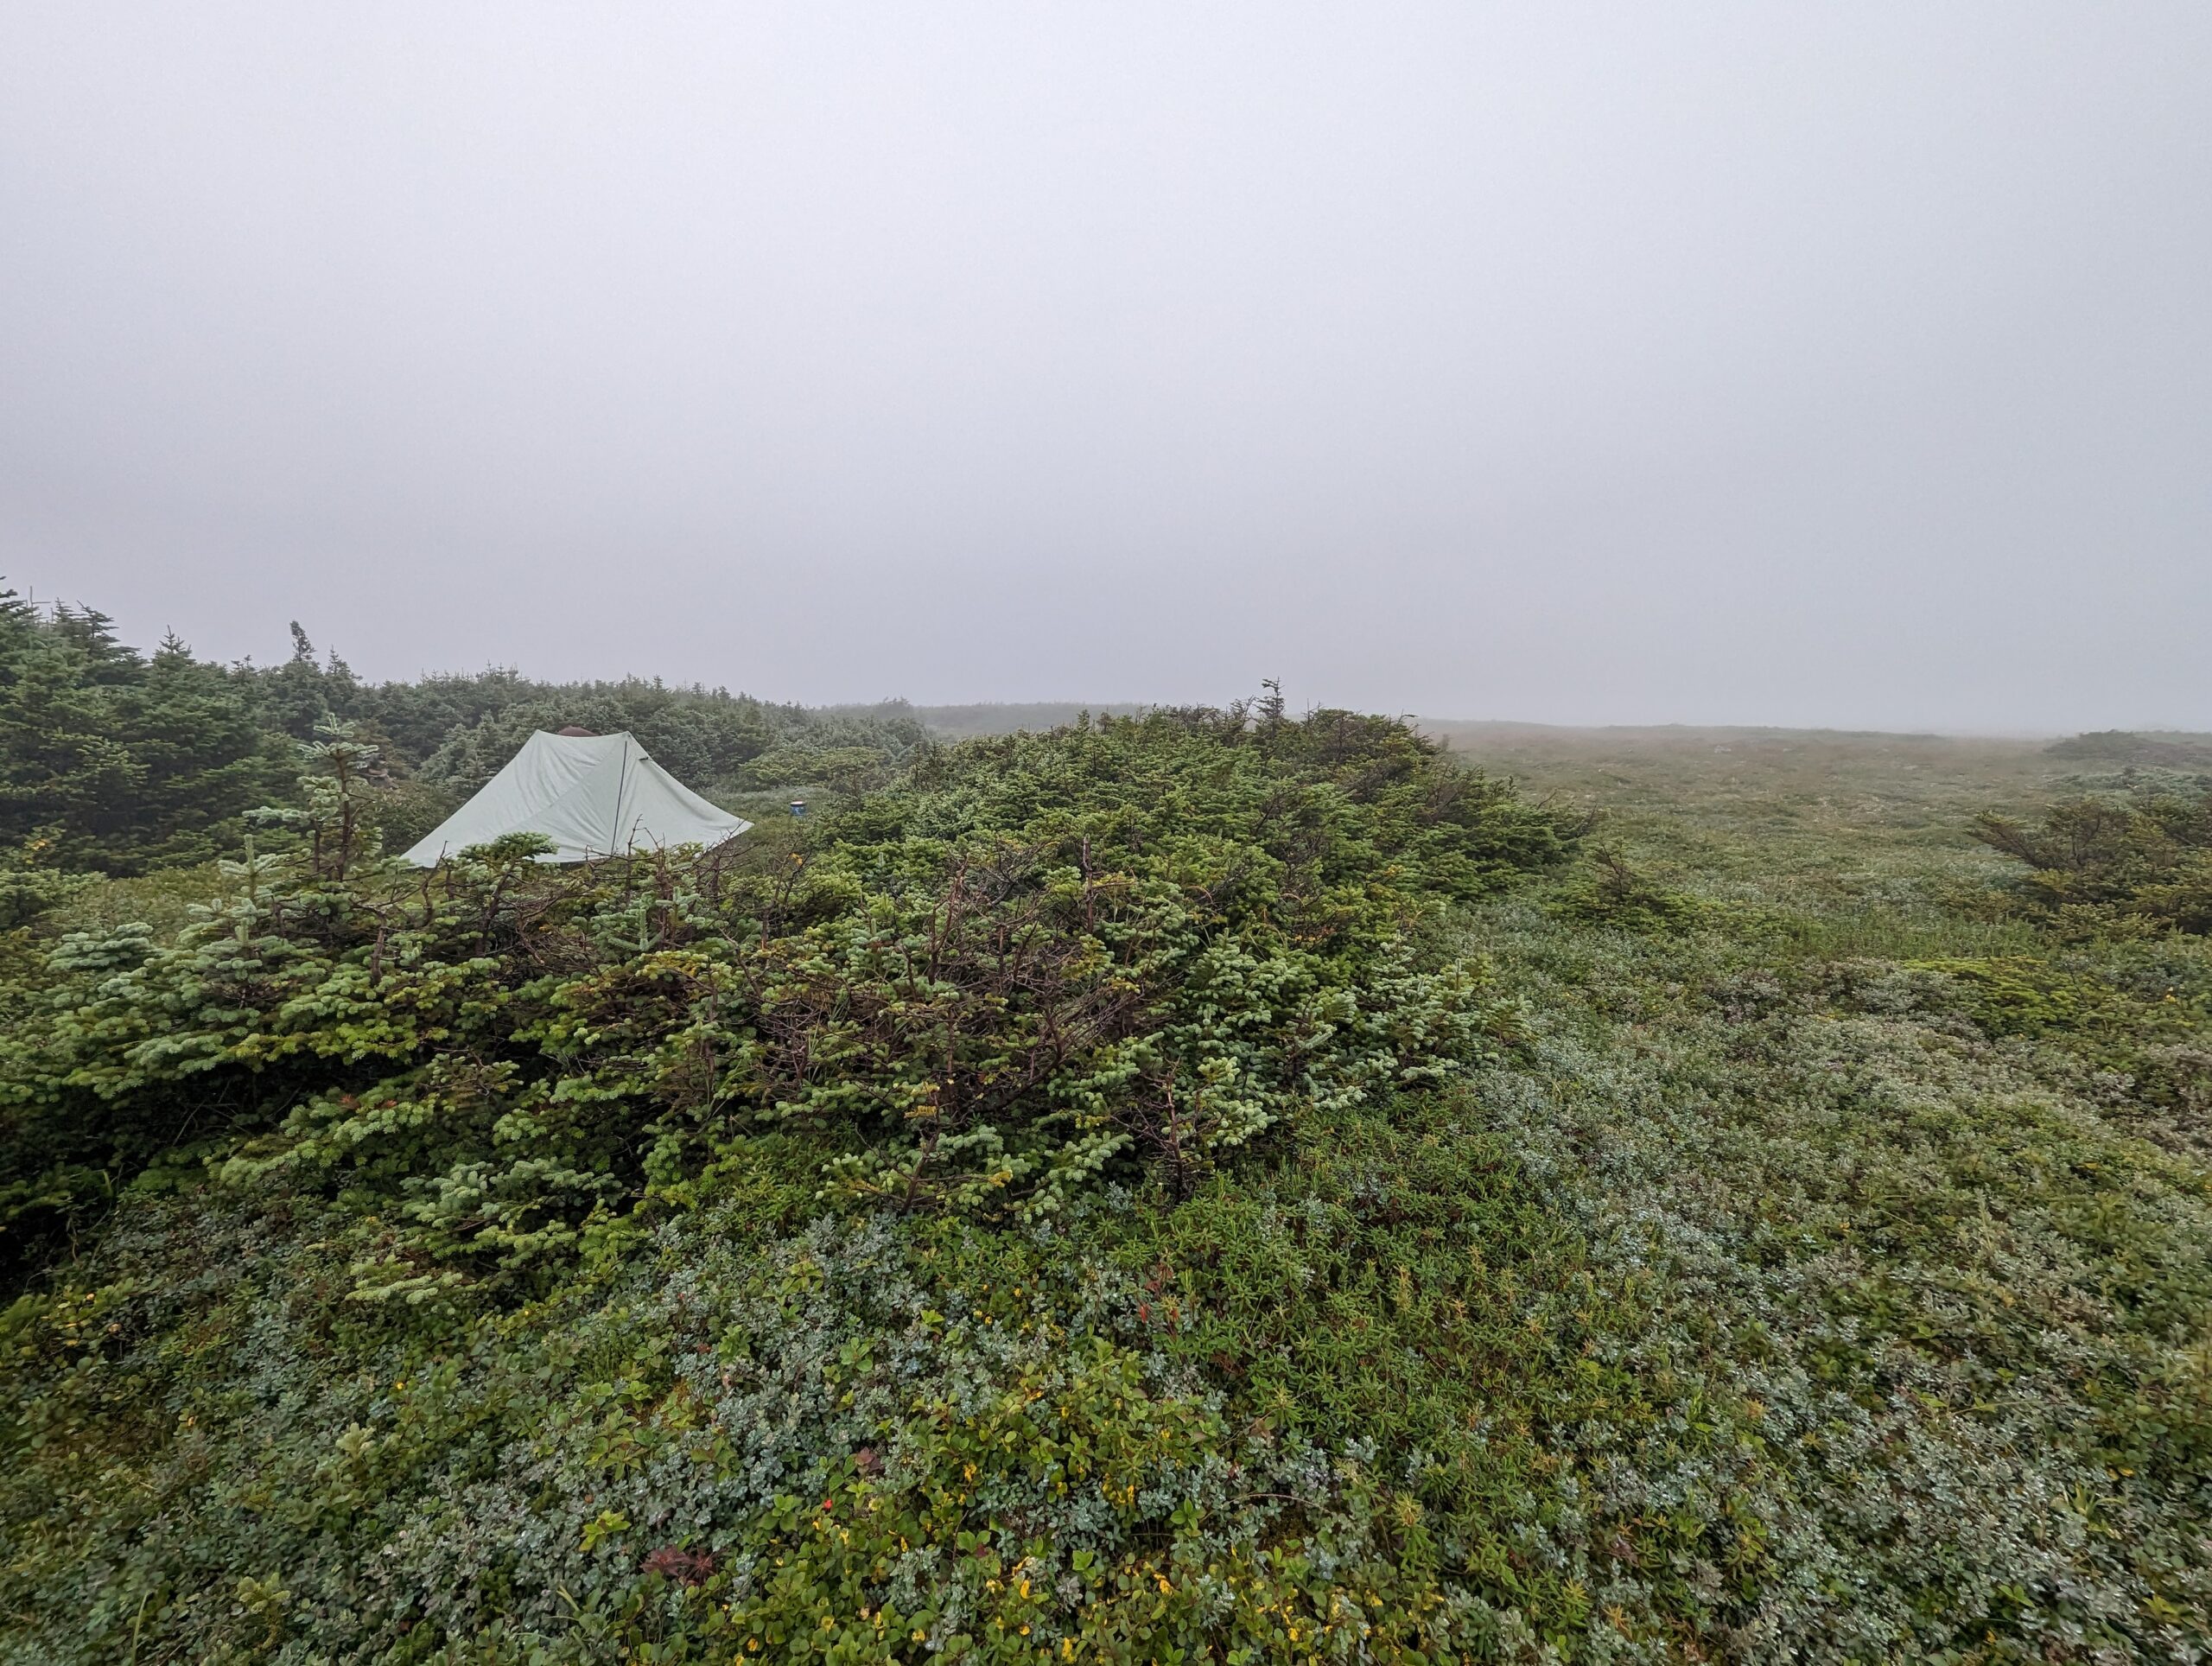
Find a Sheltered Campsite
Sometimes a spot that looks like a great place to camp, isn’t the best place. Depending on where you are, if there is a storm coming through and you are in an open field, the wind will batter your tent. Find a campsite surrounded by bushes. Bushes will act as a wind guard will provide a level of protection from any wind storms that are passing through.
Look For Flat Ground
In the wilderness, ground isn’t completely flat. There are roots and rocks that give the ground character. Remember, a flat-looking campsite can be deceptive. There may be a slope to your campsite, which means your blood could be rushing to your head all night. By taking a few minutes to examine your site, you can position your tent in such a way that roots are between camping pads and that your head is in a comfortable angle.
Locate a Spacious Campsite
By spacious, I mean a campsite that provides enough space for your tent. You don’t want to try to squeeze your tent onto small space only to have a sharp rock or branch puncture the wall or floor. Taking the extra time to examine the ground and arrange your tent accordingly will save you from the headache of a repair down the road. Position your tent to prevent trees, boulders, logs or bushes from blocking both doors. Going down to one door is fine, but ensure one door has no obstructions.
Does Water Run Through It?
Before putting your tent on the ground, look for any signs on the dirt where a stream of water may have flowed through. Now look beyond the campsite for hillsides or nearby streams that could overflow. When you are downhill, there is the possibility of water pooling where you set up your tent. The last thing you want is to wake up in the middle of the night to an inch of water in the bottom of your tent. And a final point, please don’t camp in a wash. A dry creek bed doesn’t necessarily mean it is an extinct creek. It may mean it is a path the water will take during a flash flood. Be safe.
Look For a Nearby Water Source
When possible, find a campsite that is easy walking distance to a water source. Having water nearby is helpful for cooking for meals and even filling your water bottles before leaving the next morning. If you aren’t able to camp near a convenient water source, at least note on your map where the last and first water sources are so you can plan accordingly.
Note Any Animal Activity Near Your Campsite
A campsite might not be the best option when there is a den a few trees over. Look for signs where bears may have recently been digging up a meal or for fresh scat. Game trails will tell you that animals are present, but that doesn’t always mean bears. You may be camping near deer, moose, or skunks. Be aware of what might be lurking nearby and be prepared for possible encounters. If the signs make you feel uncomfortable, don’t stay there.
Food Storage
Adding to animal activity, it is important to look for the best way to store your food in the backcountry. There are a few options for food storage, but ultimately, you want your food kept away from your campsite. The most ideal option is if your campsite has a storage locker or established bear hang. If you need to make your own bear hang, look for appropriately spaced trees. Ursaks and BearVault canisters can provide added flexibility for food storage in places where traditional bear hangs aren’t an option. Whatever you do, don’t store food in your tent when in bear country. Take the time to find the right spot for your tent and another for food storage and eating.
Other Campsite Considerations
There are a few other considerations for choosing a campsite in the backcountry. While the ground might be perfect, you will want to look at the trees around you. If they look like they could fall over in the windstorm or that there are branches ready to spear your tent, don’t position your tent under them. These are called “widow makers”. Find a spot away from a falling tree’s path, especially when you are expecting bad weather.
Cleanliness of the campsite can be a concern on high traffic trails. Unfortunately, not everyone will be considerate and some may leave garbage behind. When possible, pick up what you find and take it with you to keep it clean for others. If you feel that the site has the potential to attract rodents or predators, or the campground has been used as a public restroom (look for toilet paper), you may want to find another spot.
Finally, check out who else is already camping there. If you feel that they are going to be noisy neighbors who are a bit rowdy (more common at campsites with easier road access), you might want to keep hiking. Most neighbors aren’t a problem are are likeminded people who are wanting to enjoy nature and exchange stories. Every now and then, you might get a set of neighbors who want to party away their weekend. If that’s your scene, maybe they’ll offer you a little trail magic and you’ll have a great time sharing the spot together.
To Conclude
These are tips to help you determine an appropriate campsite in the backcountry. If you are in a safe and legal place to set up camp, that is great place to camp. If you can find a campsite that also has a great view, even better!
When choosing what to pack for your backpacking trip, think about how many days you are hiking, the weight you’re carrying, and the season. You will need to make adjustments to any list depending on your own personal needs. Follow this link to view our current gear list.
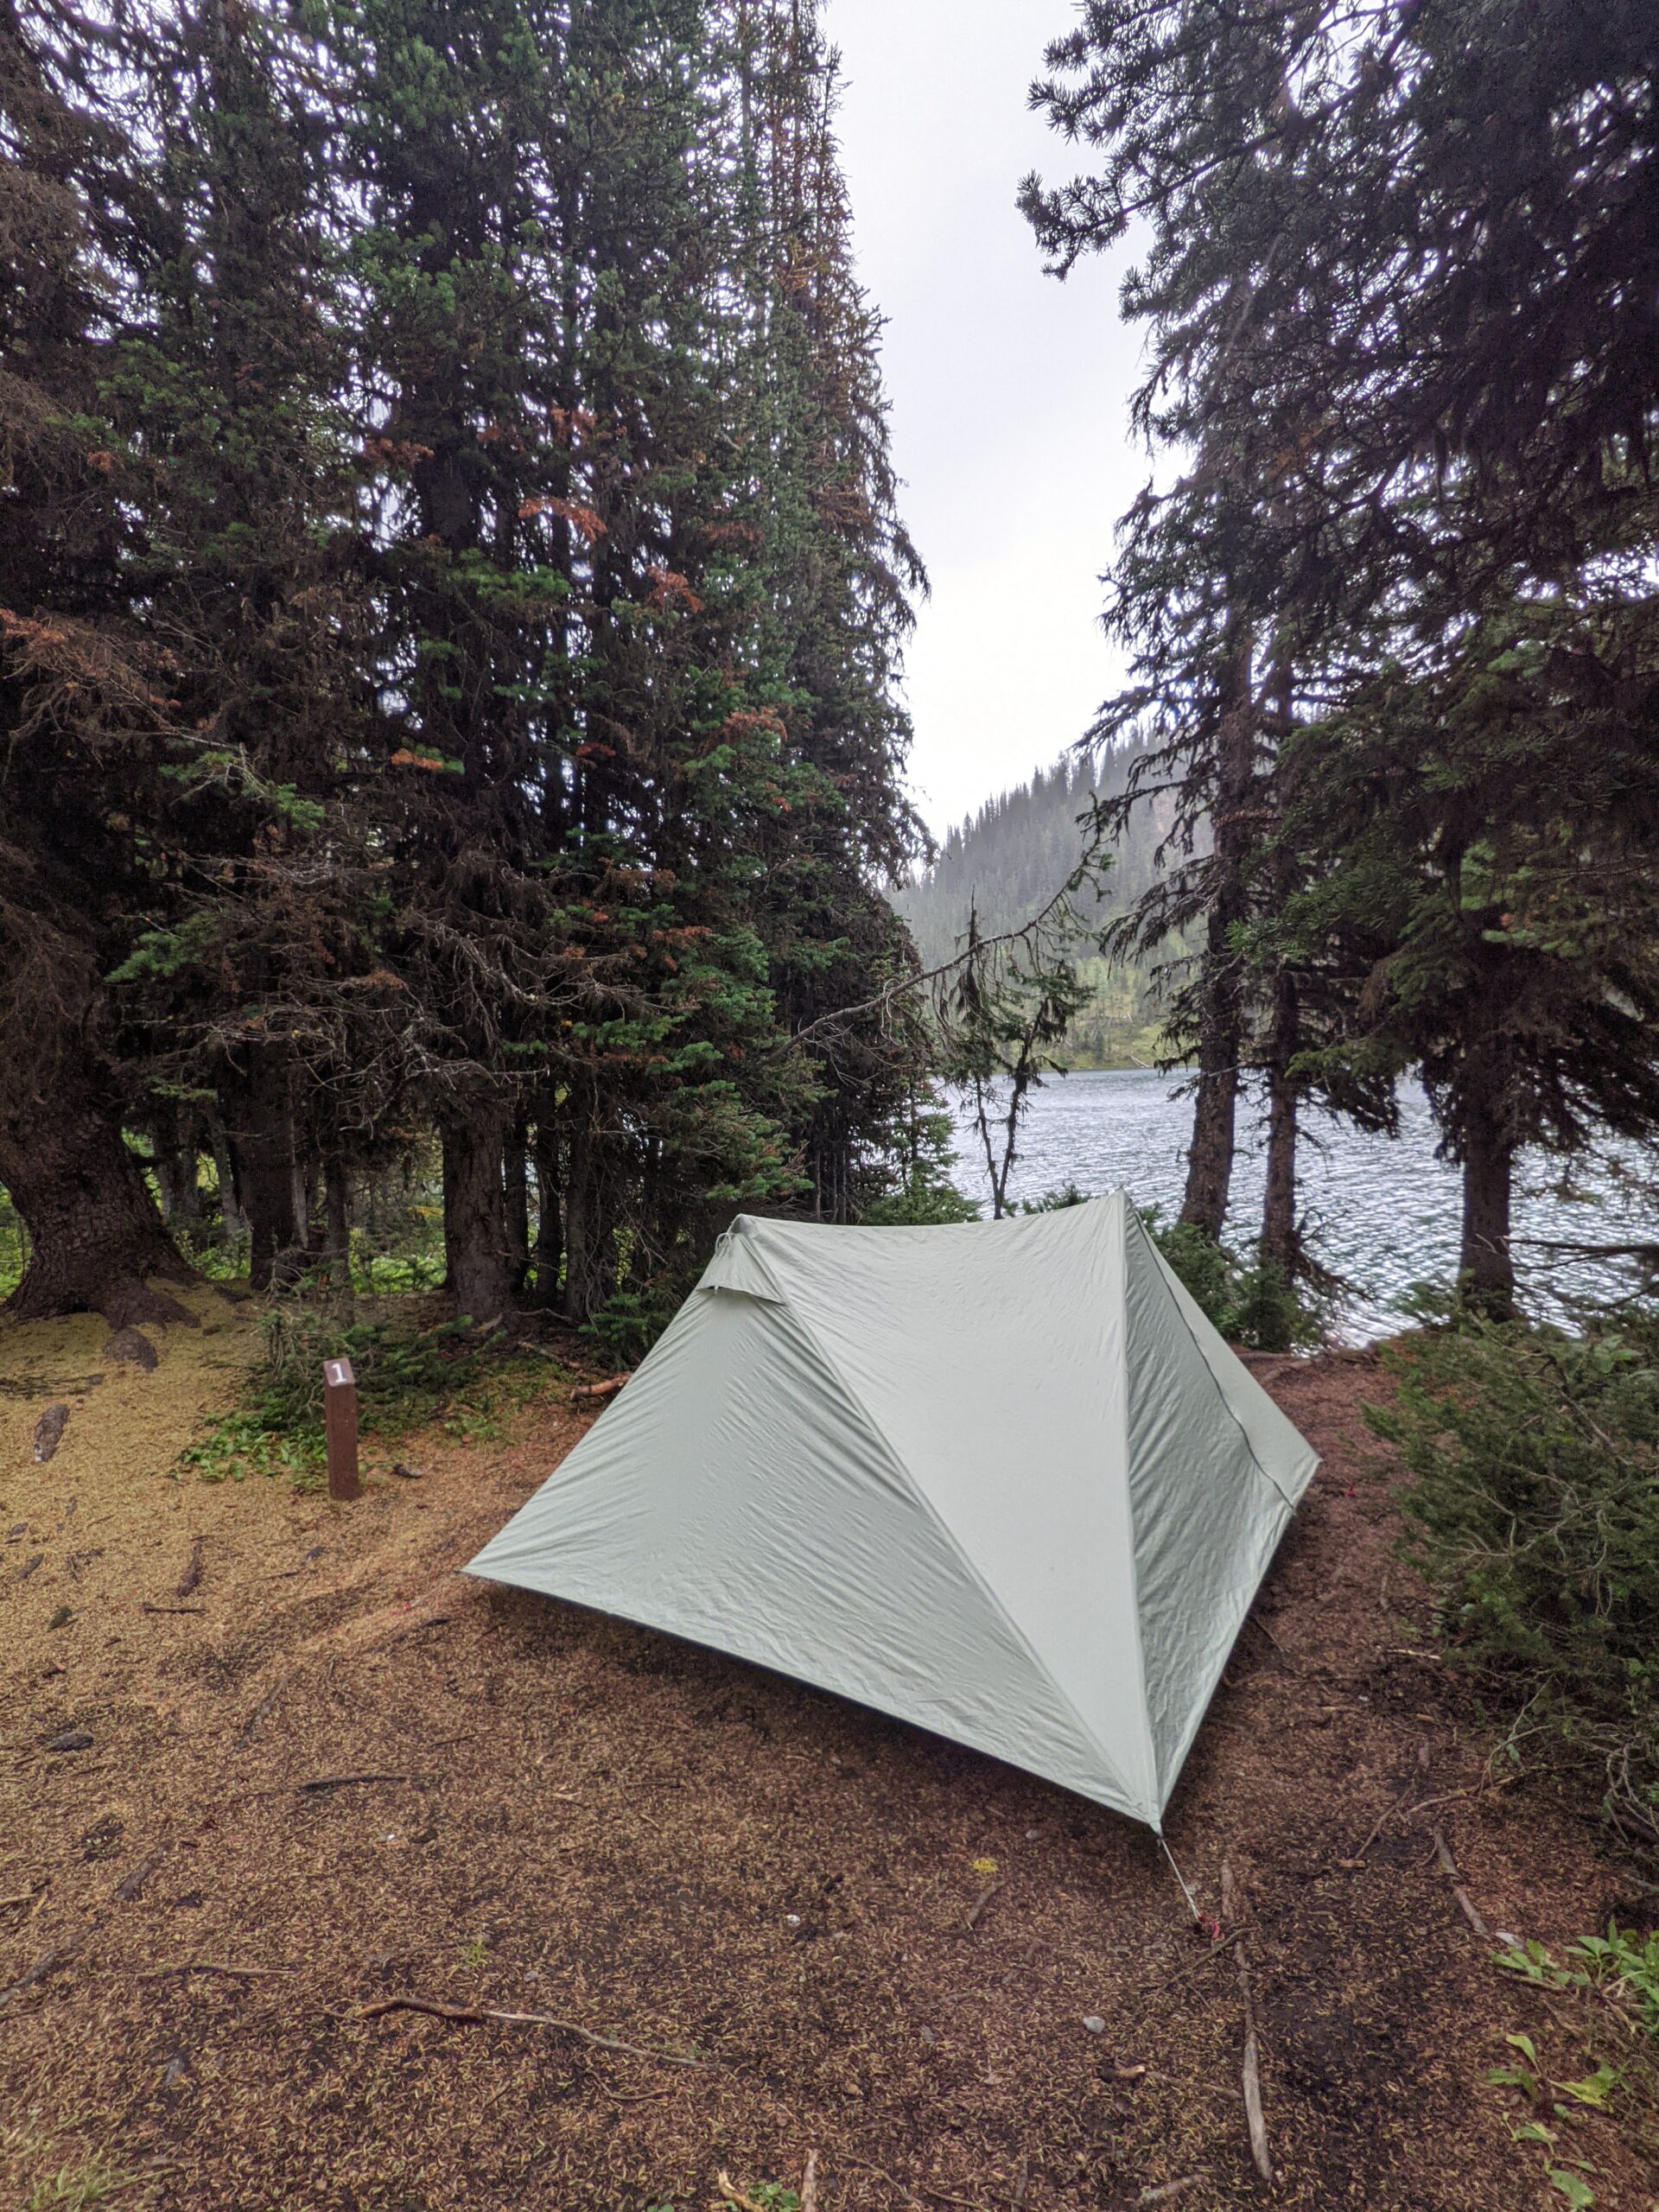
Bring the Right Shelter
On the trail, you are going to want to pack the best sleeping system for you. Consider how you sleep when choosing a sleeping bag or a quilt. Temperatures for the season will dictate the temperature rating of both your bag/quilt and pad. When packing a tent, think about the weight and how much room you need for you, your partner, and your gear.
Tent
Sleeping pad
Sleeping bag / quilt (rated for the temperatures you’re hiking in)
Pillow or stuff sac
Optional: Ground sheet
Optional: Extra tent pegs
Consider Food & Water
Depending on where you are hiking, bear safety for food storage is an important consideration. You will need to identify the best solution to pack your food when in bear country. Even when not in bear country, you need to pack out your garbage and keep mice out of your food. Also think about how you want to filter your water as more water sources will require purification. Make sure you pack enough calories and don’t forget about managing your electrolytes.
Food storage (e.g. Ursack or BearVault)
Water filter / purification
Water bottles (e.g. Smart water bottles)
Stove (e.g. Jetboil Stash)
Spork
Titanium mug
Freeze dried meals
Snacks (e.g. nuts, jerky)
Electrolytes
Ziploc bag for trash
Pack the Right Clothing
Packing clothing is probably the toughest part of packing for a trail. You have to consider the weather, which is not always predictable. Don’t underestimate the importance of dry socks. Reserving one pair to only wear around camp is a recommended luxury item. Please don’t carry your entire wardrobe. Re-wear clothing and stop in a town to do laundry and take a shower.
Hat / Toque / Beanie
Shorts / Pants
Short sleeve / long sleeve shirt
Fleece and/or Puffy
Thermal layer
Socks for hiking
Socks for camp
Hiking boots or shoes
Shoes for camp / Water crossing (e.g. Crocs)
Underwear
Gloves
Helpful Gear to Include in Your Packing List
We use trekking poles not only for stability but also for our tent. Some items on this list can be optional based on your preference. We often pack most of these items on our trips.
Pack the amount of toilet paper you think you will need and bring extra. A rash cream of some sort will be helpful with chaffing from your pack or in other sensitive places. Don’t forget to put any smelling products, such as toothpaste, in your bear safe storage at night.
Ziploc bags (Protect your clean toilet paper and another for used paper)
Make sure you pack with safety in mind. In bear country (particularly grizzly bears), you are going to want to pack bear spray. Sunscreen is something you might easily forget and will remember once you start to burn. Always travel with an SOS device and tell someone your travel plans.
Bear spray
First aid kit
Sunscreen
Bug spray
Map and compass or GPS
SOS device (e.g. Garmin inReach)
Entertainment Bundle
Don’t forget the importance of giving yourself something to do when you are stuck in your tent during a rainstorm. When the temperatures drop and you hide out in your tent, having a little something tucked in your pack to help pass the time is helpful. Choose something small and light to enhance your trip.
Journal with pencil
Deck of cards
Kindle
Camera
Final Reminder
It is easy to make a list and stuff everything into your backpack. It is another thing to carry the weight for several days over several miles. Be wise about what you truly need. Don’t be afraid to cut something from your gear if you need to. Make sure you have the right gear for the right weather on the right trail.
In 2021, my husband had expressed an interest in hiking a section of the Great Divide Trail (GDT). He had made arrangements with a friend to hike Section C, but his friend needed to back out. To keep himself from hiking alone, he used Facebook groups to find another hiker to join him on the trail. While he was trying to find a hiking partner, I had been quietly pondering the idea of joining him. Once I told him I was interested, we developed a plan to prepare me for the trip.
Starting Slow
Close to our home was a popular hiking trail. It was perfect for getting my legs ready. We started off with no weight and simply walked the loop of the trail. We counted steps with our smart watches and noted the time it took to complete it each time.
Rain didn’t deter us from hiking as we wouldn’t have that option when we were on the GDT. If it was pouring rain, we would stay home, but a little drizzle was not something to hold us back. Our dog thought our dedication to walking was marvelous and wanted to point out every squirrel he could find.
Adding a Little Weight
As my legs became used to hiking the loop, I started wearing a backpack with a small amount of weight. My body immediately noticed the difference. My pace was slower, but I was determined to get my pace back up to what it was pre-backpack. We increased the number of days per week that we hiked and over time we gradually added more weight. Soon I was carrying ~30lbs over 8-10kms.
Trying an Overnight Hike
After walking the loop multiple times per week in both directions, it was time to hike a different trail. We settled on the the Boreal Trail in Meadow Lake, Saskatchewan. While it was a relatively flat trail, it offered distance and pre-determined camping spots. We positioned vehicles at our entry and exit points and set out on our overnight trip.
As we hiked, I learned that I didn’t have any problems with climbing over fallen trees. What I did have issues with was the pack not sitting right on my shoulders over long periods. We would need to adjust my pack. I also learned what gear I didn’t want to bring with me when we hiked the GDT. This was also my first time drinking filtered water that had some unwanted guests in our filter. We found water sources containing fresh water shrimp and leeches. Yummy!
What are the Benefits of a Preparation Hike?
Physical Readiness – By doing an early hike, I was able to get my body somewhat ready for what was coming. I say “somewhat” because I couldn’t replicate the mountain terrain. Doing a hike with weight over distance provided an introduction.
Confidence – After we finished our hike in the Boreal Trail, I felt I was capable of hiking the GDT. I knew I wouldn’t be the fastest hiker, but I could carry my own gear. It gave me an understanding of my pace.
Gear Check – A preparation hike helped me determine what gear I wanted to remove from my pack. I also noted what was missing. There was gear I hadn’t used before and learned to trust it, such as gaiters and bear spray.
Adjust to Nature – Sleeping outdoors is different. It can be difficult to sleep when you hear birds, frogs, or other animal noises. It is also challenging at dusk or at night wondering if a bear is watching you nearby as you go to an outhouse or other private corner. A preparation hike provided the opportunity to settle my nerves and not feel I was going to get eaten if I stepped away from my campsite for a few minutes.
Communication – A preparation hike when on trail with someone else is helpful to learn each other’s hiking styles and needs. My husband is an independent hiker. He likes having others hike with him for safety in numbers, but he doesn’t feel the need to stick close. I have a certain distance that I like to keep between us (although I have found that distance has been increasing). Having an initial hike before going on Section C gave us a chance to set expectations before venturing out.
Time to Hike
Completing a preparation hike will give you the confidence you need before going out on the trail. It gives you the chance to identify areas that need a little correcting or what is going to work best for you. While not everyone is going to need a preparation hike, who is going to complain about finding another excuse to hike?
Notice I didn’t say, “thru-hike”? That is because I haven’t spent months on a trail and so I can’t speak to being away from home for a duration longer than two weeks. What I do have is experience with trying to keep up with a faster partner, mom-guilt, and pushing through day after day of hiking tough terrain. Here are a few of my recommendations for a successful multi-day hike.
Set Goals
Trails aren’t easy. Unless you picked a trail with flat terrain and nice gravel paths, you are in for elevation ascents and descents, uneven ground, and a variety of other changing conditions from mud to bugs. There are times when you will feel miserable with the rain pouring down on you while the clouds block the views that you were hoping to see after a long climb. You might also find that despite your best efforts to prepare for the hike, your legs aren’t cooperating and discover climbing switchbacks to be especially difficult. Setting goals will be a huge help in winning the mental game of a hike.
Creating goals allows you to break your hike into bite-sized pieces rather than feel intimidating by what is yet to come. Goals can look different depending on what motivates you, such as:
Target a visible point on the trail, such as a tree twenty feet above on the switchback or the top of a particularly muddy climb.
Take a Zero Day. There is no rule that you can’t leave trail and head into town for a shower, an overnight in a hotel or a nice hot meal. Setting the goal of a Zero Day might be the motivation you need when facing a particularly challenging day.
Reward yourself for reaching a milestone. Rewards can be as simple as a long rest or a drink of water to a snack you have been saving or a drink you tucked away in your pack. Celebrate 50km, 100km, or reaching the top of your first pass. Whatever it is, celebrate your wins.
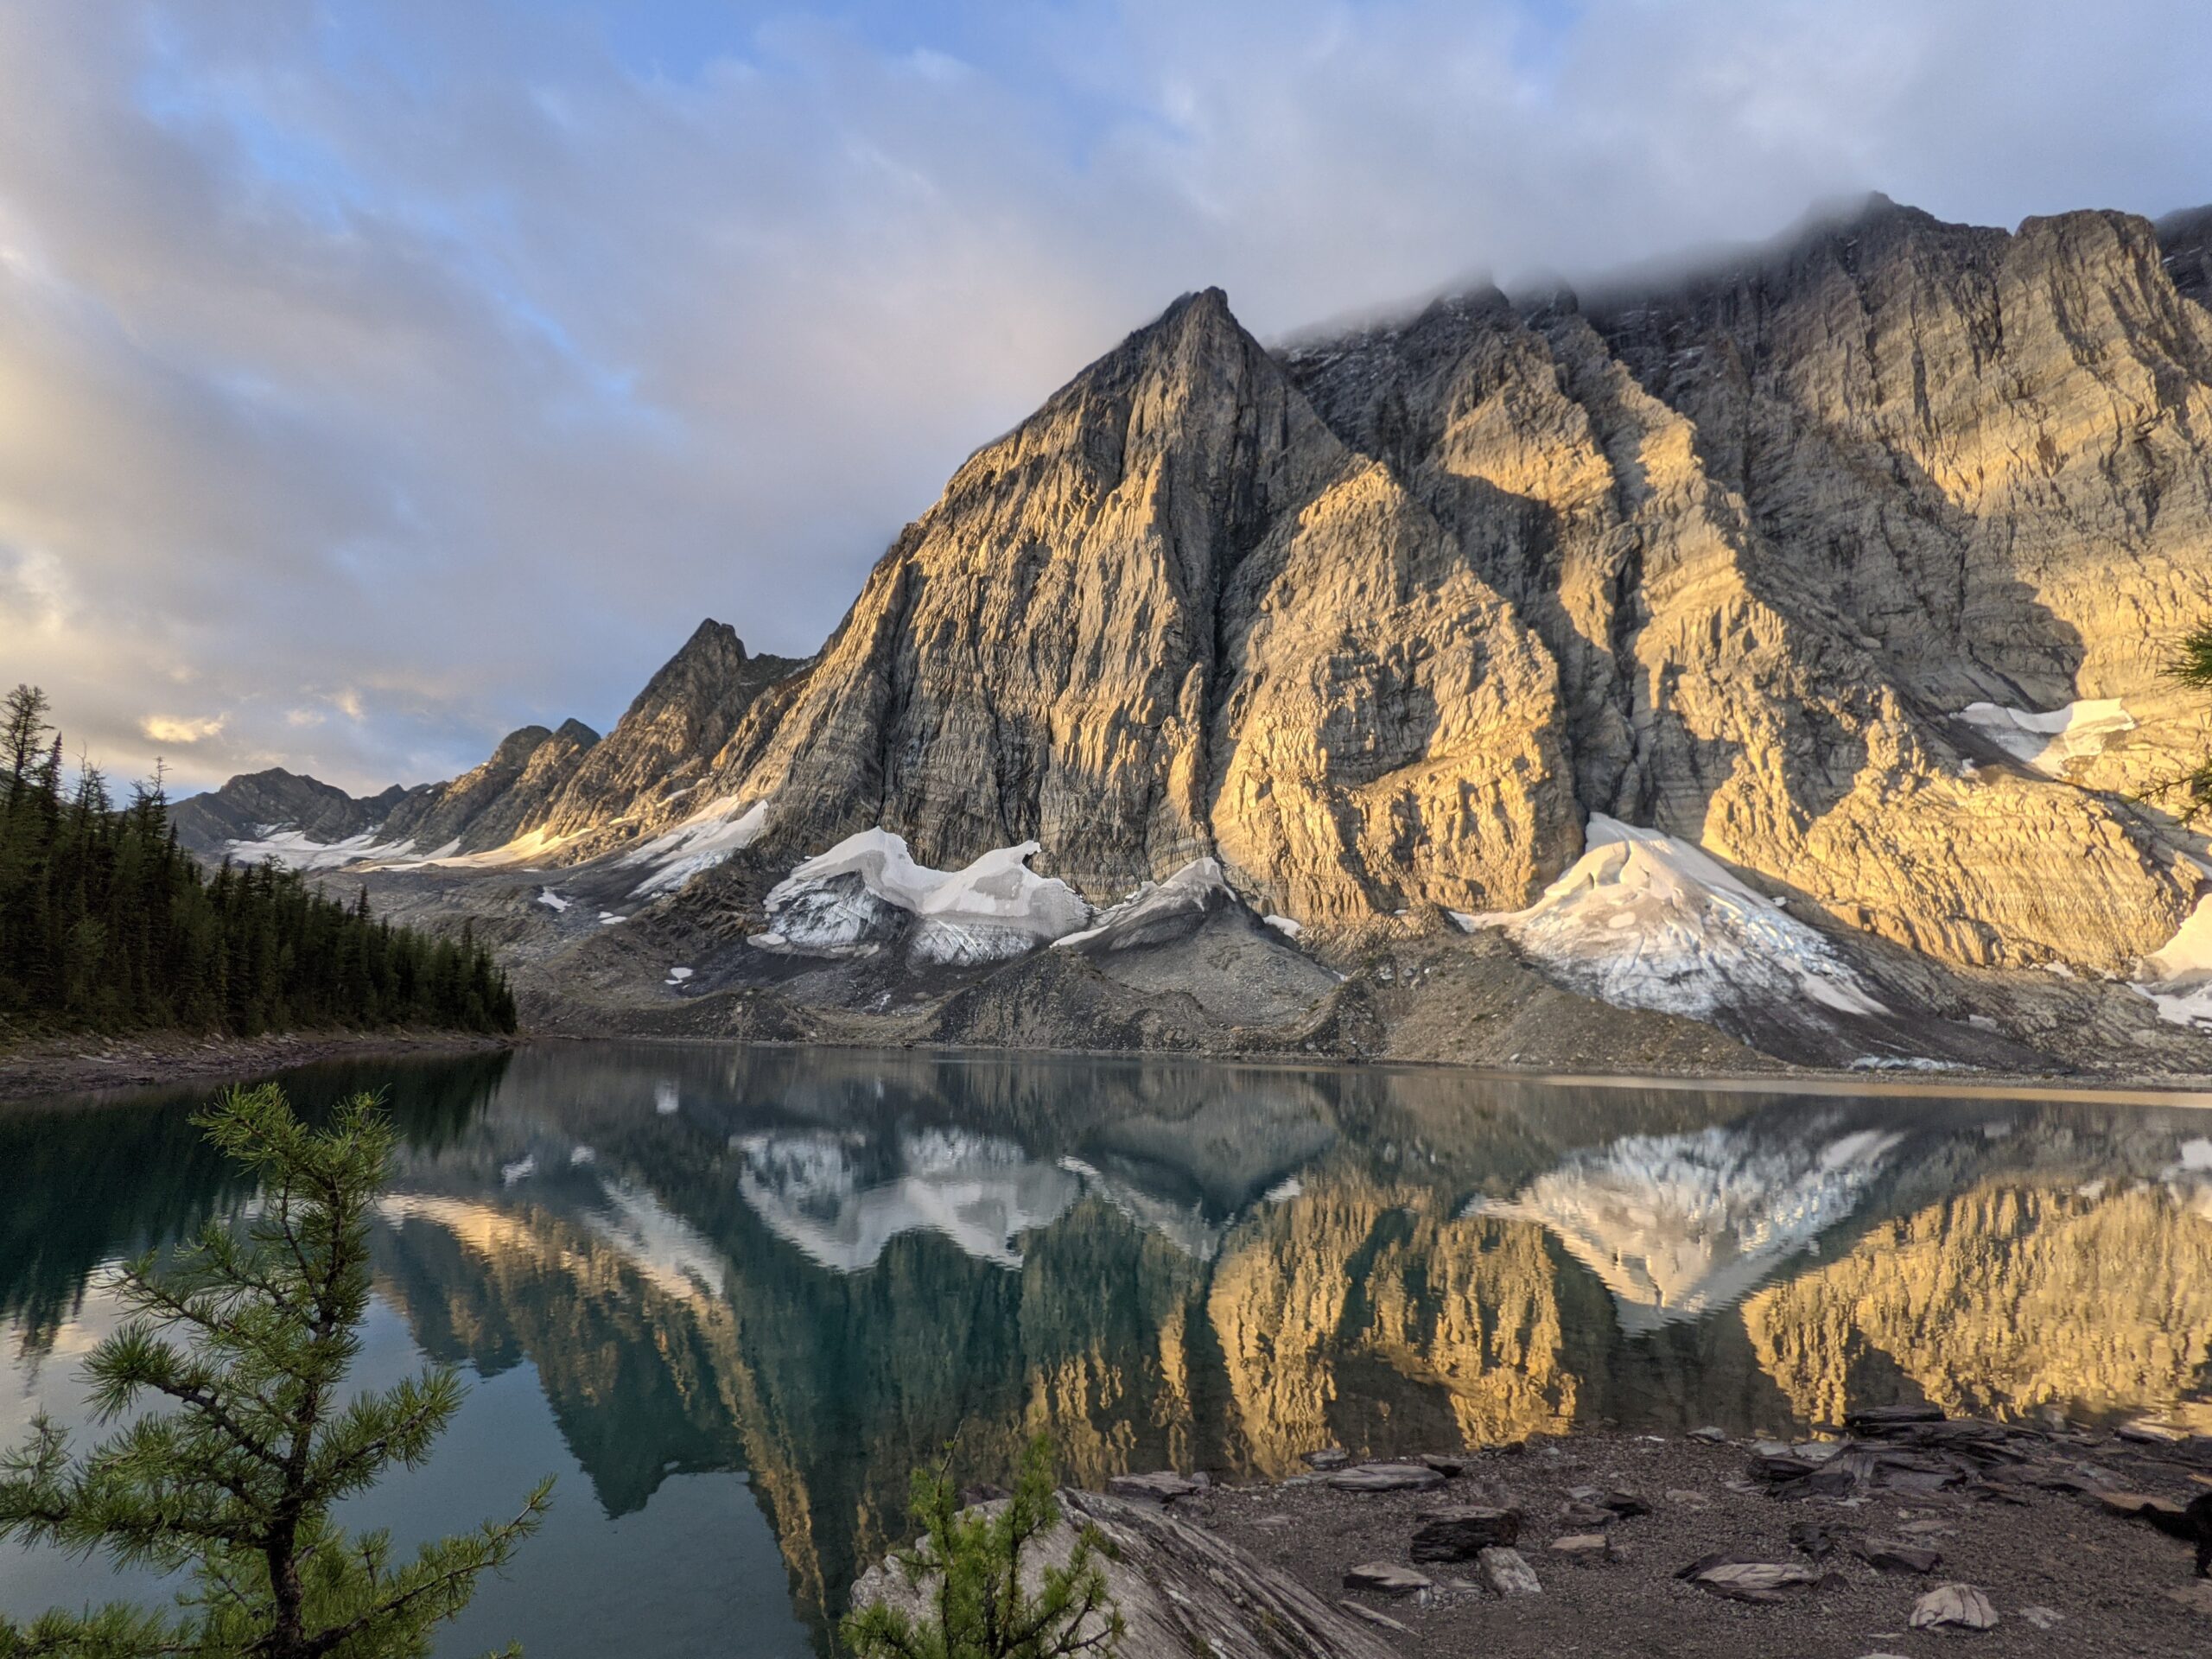
Set a long-term goal of a particular campsite you want to reach. For me, I was determined to get to Floe Lake on the GDT. I had seen pictures before the start of our hike and was going to push through to make sure I got there.
Know Your Why
There will be stretches of the trail where you love every moment of being out there and times where you wonder what you got yourself into. When the bugs are trying to bite, your legs are scratched up and your feet hurt, you can find yourself spiraling into continuous thoughts of misery. This negativity can take distract you from the beauty that surrounds you and taints the experience.
Recalling why you decided to hike the trail will help refocus your thoughts away from the immediate misery to the payoff that lies ahead. For some, the why will be the accomplish of completing a trail end to end. Others might want to hike a trail to reach a particular view. Fitness might be a why. There are also hikers who are there for the personal journey. Whatever your reason is for hiking, there will be days when you will reflect back on your why. It doesn’t need to be an earth-shattering reason, but the reason will be important to you. The reason is what you will judge your days against. Are you getting out of this hike what you’re putting into it? Is it worth the suffering, sacrifice or cost?
During the last leg of our GDT hike, I found myself mentally drained. We were pulling long days on the trail and I felt I had spent most of those days staring at the ground rather than at the views. The trail had become rather technical with overgrown bushes snagging my already fatigued ankles. Whenever I caught up with my husband, he would take off and I wouldn’t get a chance to stop and take in the view as I felt I was going to be left behind. I was struggling to finish the hike because I wasn’t satisfying the why, which is to enjoy the views. Once I expressed to my husband that he needed to give me time to stop to enjoy the views, I found a renewed energy every time we took a break. Knowing your why is no joke.
Reflect on How Far You’ve Come
Take a moment to look over your shoulder to see how far you’ve climbed or the distance you’ve covered. There will be days when the climb seems to go on forever. While some of the climb will be more vertical with switchbacks zig-zagging up the mountain side, other climbs will also take you across more horizontal miles. Depending on where you are, you might see a distant highway, a river you crossed in the morning, or the valley where you camped the night before. You might not be able to see the bottom of the mountain where the climb started or the lake you swore was down there somewhere but is obscured through the trees or blocked by a ridge.
Every time you put one foot in front of the other, you are that much closer to completing your trail or celebrating your next milestone. Looking back provides a moment for you to reflect on what you have accomplished. On our GDT hike, I can recall a few times when I looked back and marveled at how far I had come.
One particularly memorable moment was standing at the top of Wonder Pass surrounded by snow and I turned back to see the ridgeline of mountains behind us. Although I was chilly, I took some time to ponder how I was standing there in the snowy mountains. I never imagined myself hiking in a place like that, and there I was. It felt surreal. We had come so far and we couldn’t see where we had started from. There was still so much trail to go, but I felt like I had conquered the GDT.
Hike Your Own Hike
On the trail, I tell my husband he hikes like a gazelle or a mountain goat. While he happily hikes up a mountainside, I work for every inch. He doesn’t look like he feels any drain from the climb while I need to stop and guzzle water. Our bodies are very different and it can make for some interesting challenges when I want to rest on flat ground when he is getting twitchy, anxious to get moving again.
Hiking your own hike, to me, means hiking without judgment. Don’t try to compare your need for breaks against your partners. Communicate what you need and set expectations for frequency of stops and distances that can be covered in one day. Depending on your comfort level, you might have your faster partner hike ahead of you with the intention of to meet up where there is a junction or at a creek crossing. Your partner could scout out flat ground during difficult climbs so you know how much further you need to go before your next break.
You don’t need to be jealous of your hiking partner’s abilities or criticize how you perceive your fitness level. Remember that you have 30lbs or so of weight on your back and are doing something that millions of people wouldn’t dare try. You are already doing something amazing and while it’s hard, you’re putting one foot in front of the other and will reach your campsite or the trailhead if you keep going.
Include Your Loved Ones
Being in the middle of the mountains or forest means you have limited to no access to internet or cell phone service. This can be challenging if you have children or pets at home. Even though you have made arrangements to have them cared for while you are on trail, you will find your thoughts being pulled toward wondering if they miss you or if they are okay. These thoughts distract you from the views you have worked so hard to reach.
Remember that your time on the trail is limited. While you aren’t away on a work trip, you are doing something that mentally recharges you. Your children, and your pets, will enjoy hearing about your adventure and see the pictures you took along the way. Your dog will be especially interested in hearing about all the squirrels you saw.
Identify plants, rocks, formations, or any other sights long the trail that a loved one back home would appreciate and take a photo of it. Finding ways to include them helps to eliminate any guilt you feel about leaving them behind and makes it feel like they are with you. Thinking about what they might like will also get you thinking about different perspectives and you will spot things on the trail that you might otherwise have missed. You don’t need to bring them a souvenir when you come home. Just tell them what you saw that reminded you of them.
Write It Down
My final recommendation is to journal and write about the highlights of your day. Write about there being toilet paper in outhouses, animals you spotted, the ups and downs from the day… whatever it is, document it. You can read your entries while on trail or when you leave trail, but writing helps you sort through your thoughts from the day and identify changes you need to make to improve the next day.
Journaling also gives you something to review before your next hike. You can see what worked for you and what factors were negatively impacting your experience. When preparing for your next hike, you can implement changes or equip yourself differently so you have all the tools in place to have a successful hike. Adding a pen and a thin notebook to your pack isn’t a big addition to the weight you’ll carry. It will not only give you that opportunity to mentally check-in, but it will also give you another way to capture your trip and recall those great memories you make along the way.